Are you looking for an easy way to apply larger stickers? Do your stickers often get air bubbles or creases? Applying high tack or large stickers can be difficult, especially when using the dry method of application. Incorrect application can lead to the formation of creases, peeling, air bubbles etc.
At Signprint have helped our clients resolve these very application issues multiple times by recommending them an alternative application method. This article aims to provide this information and teach people how to apply a sticker using this alternative method.
So, what is this alternative application method and is it better? Yes, there is a more beginner-friendly method of sticker application known as the wet method of application. Having used the wet method ourselves we at Signprint understand the pros and cons of this method along with when and where to use it which is what we will be discussing in this article.
The wet method of application is a beginner-friendly and forgiving sticker application method that uses soapy water to wet the surface on which the sticker is applied.
The soapy water prevents the adhesive from completely bonding with the surface, allowing us to move the sticker around while it is stuck to the surface, this movement makes it much easier to position the sticker on the surface.
After the sticker is positioned, a squeegee is used to apply pressure from one side towards the order while making sure to push out the air bubbles along with the water. Once satisfied with the application, leave the sticker to set for at least an hour before trying to remove the backing paper.
The backing paper should be easy to peel off and done from one side to the other while holding the backing paper at an acute angle.
Any leftover air bubbles under the sticker can be removed using the squeegee but if the bubbles are small and unaffected then just wait and they will disappear over a few weeks.
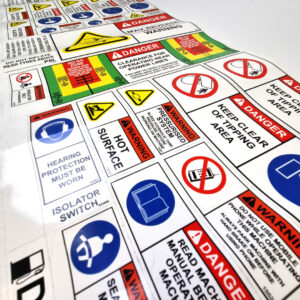
The wet method can be used to apply stickers onto flat glossy surfaces such as glass, Aluminium composite material, glossy painted metal and more.
When applying onto steel and metal surfaces it is best to “push” all the water out from under the sticker to prevent any rust or corrosion. Do not apply onto rivets and screws which trap water and cause the sticker to crack later.
When working on non-porous surfaces, the wet application can cause water to be trapped in the pores causing the sticker to lose adhesion. Certain vinyl such as air-egress vinyl has micro tunnels which act as pores on the surface and trap water.
To apply a sticker using the wet application method there are a few things that you might need to prepare before starting such as:
If you want to learn the difference between sticker application methods then you can check our article on the Wet application method VS Dry application method here.
Wet sticker application is a technique liked for how beginner-friendly it is but if you are still having issues applying stickers and require additional help or want to place an order then you can call or email us, the contact information is available here.